Kirsty McKie
Based in Bali, Indonesia, sculptural ceramic artist and Faithfull Girl Kirsty McKie takes us through her step by step process of creating a vase so that you can make your own at home.

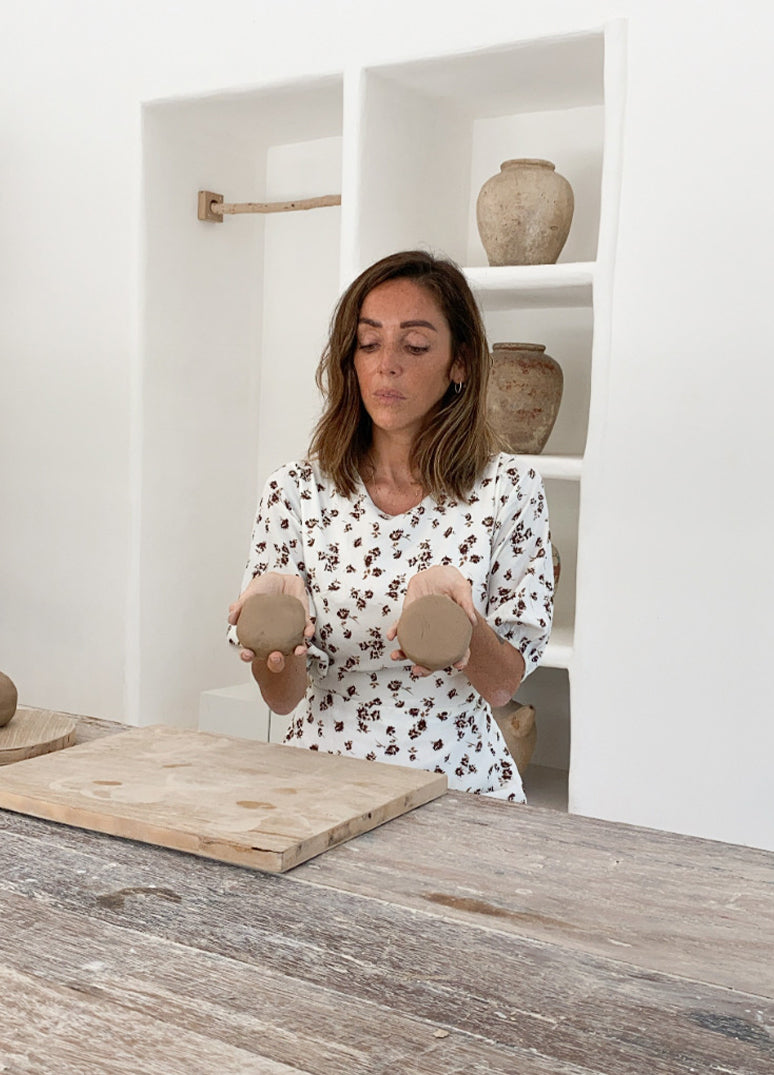
“Step 1”
Start with two equal-sized balls of clay that fit in the palm of your hand.

“Step 2 ”
Make a hole in the ball with your thumb and turn it as you gradually open it up into a bowl shape.
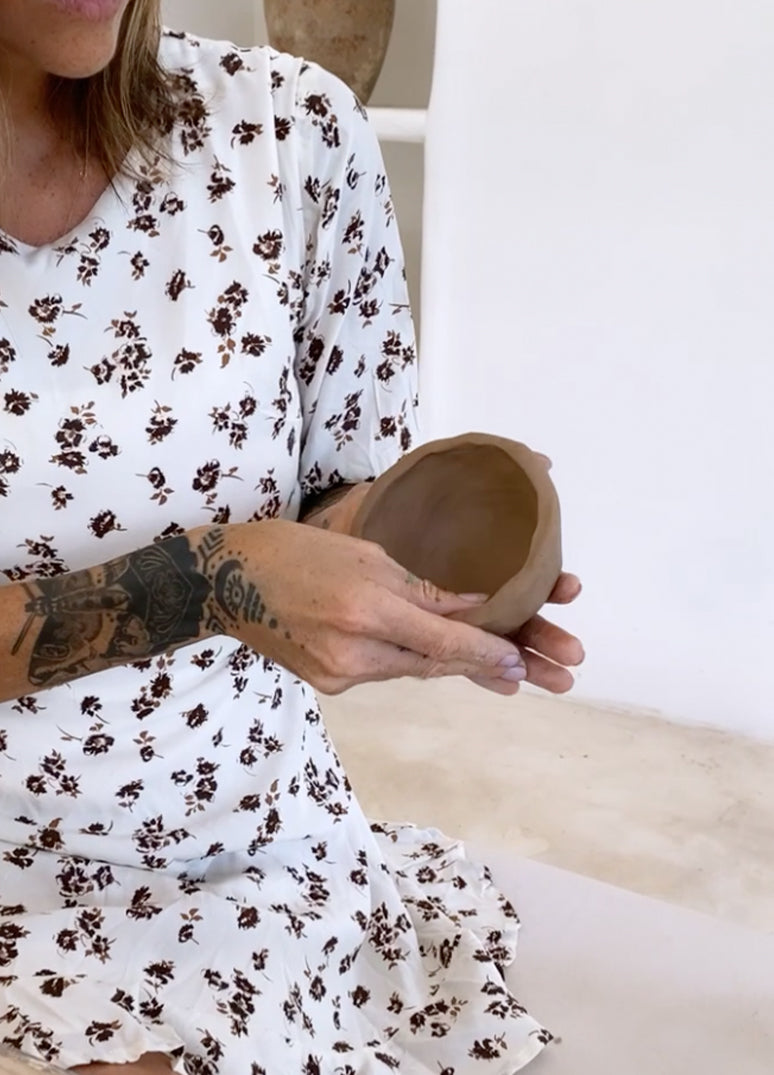

“Step 3”
Repeat for both balls of clay until you have two small bowls of the same size.

“Step 4”
Score the edge of your bowls with a fork or sharp tool and add water to make them sticky.


“Step 5 ”
Press both pieces firmly together.

“Step 6 ”
Join the pieces securely by pulling clay across…you can add extra clay to reinforce the join.


“Step 7”
Use a wooden spoon to shape your sphere into the desired shape for your vase.

“Step 8”
Smooth the surface with a tool, sponge or your fingers and cut an opening for the neck of your vase.


“Step 9 ”
Add a coil of clay to form the neck, using your fingers to make sure all edges are securely joined.
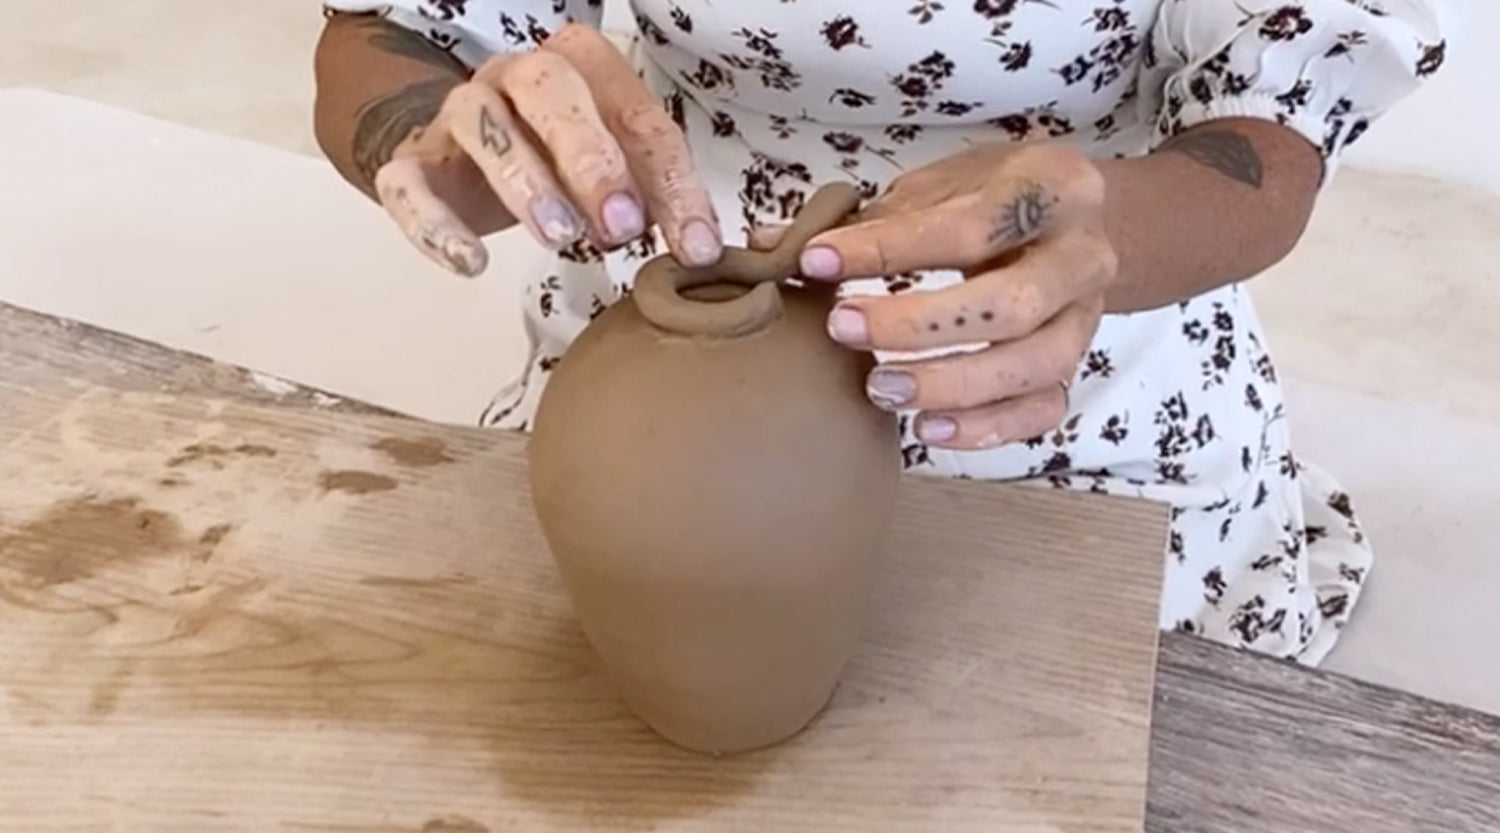
“Step 10 ”
Add a handle if you desire! Your vase is complete.
Allow your creation to dry then take it to a local pottery studio for glazing and firing… it’s likely that you'll have many studios in your area offering this service. After glaze-firing your piece will be water-tight and can be used for fresh flowers for many years to come.